


Flo Pink Drum


Finally, the whole process is finished and the drum re-assembled entirely.
| Album | Flo Pink Drum |
| Category | Riso Drum |


Here you can see also the ink detection (L) and ink overflow (S) sensor on the drum PCB.
| Album | Flo Pink Drum |
| Category | Riso Drum |


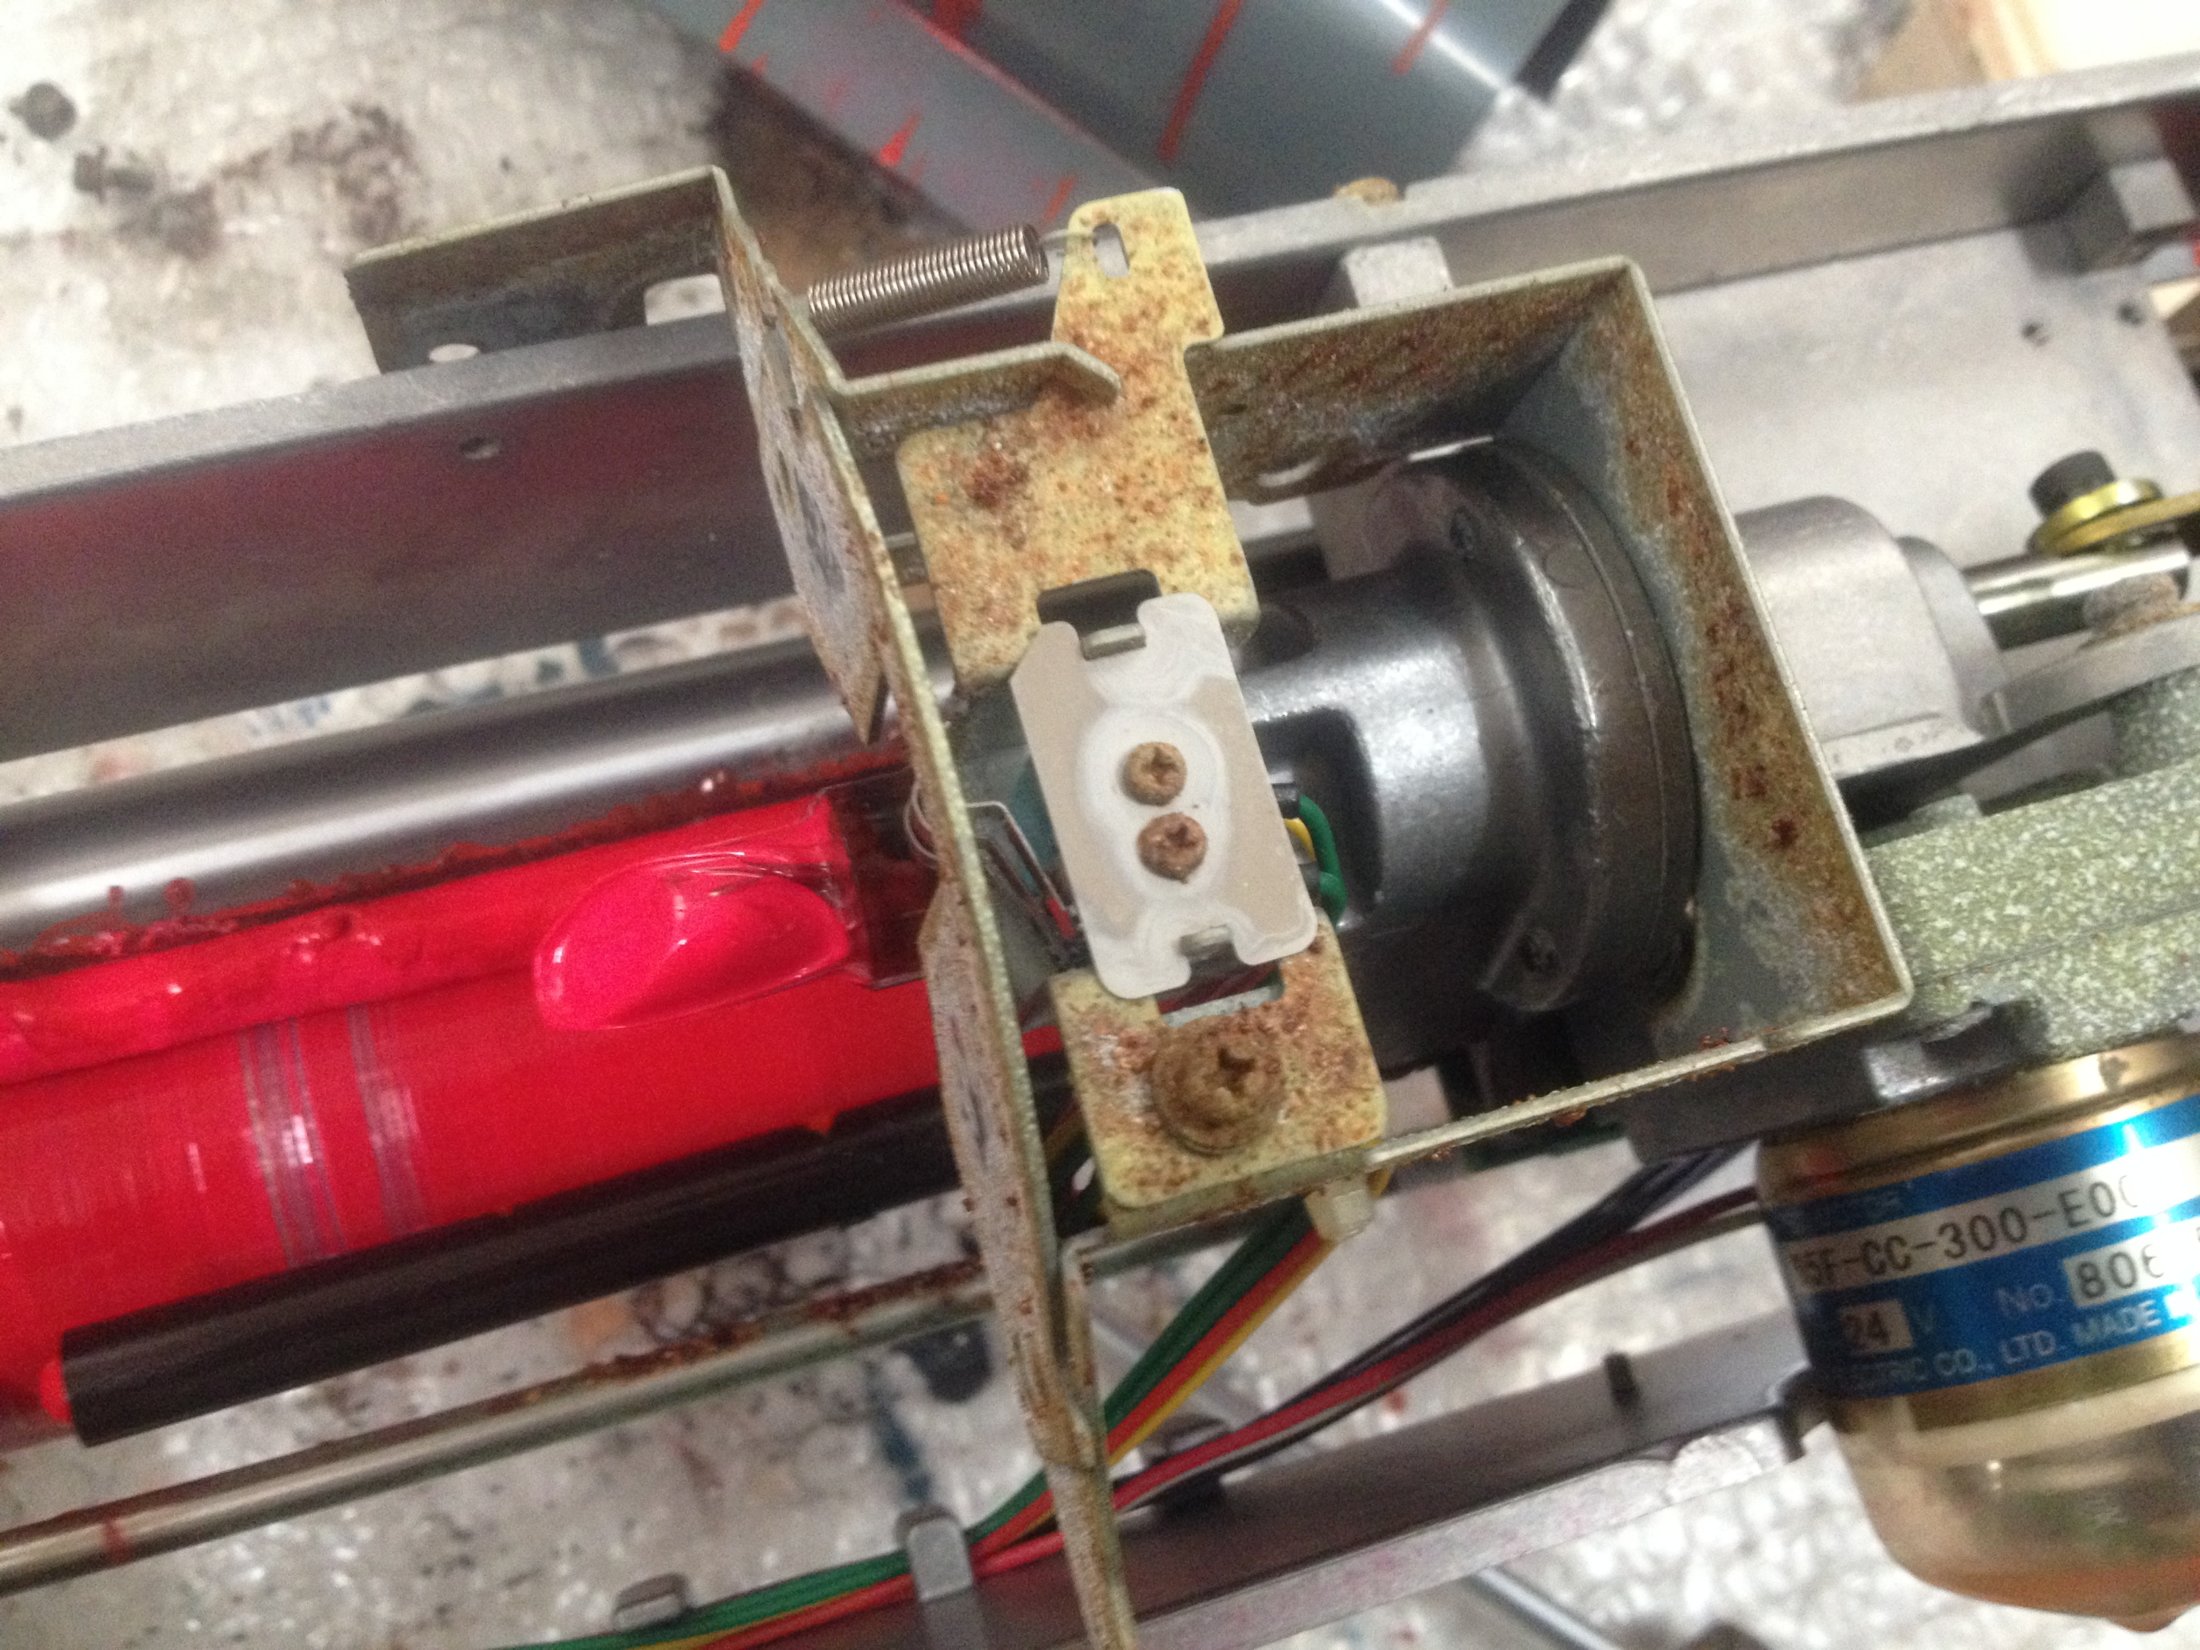

Here you can see the crust, that built up over time, eventually preventing the ink spreading evenly over the squeegee roller
| Album | Flo Pink Drum |
| Category | Riso Drum |

First steps are to take off the drum covers, the screen and drum body.
| Album | Flo Pink Drum |
| Category | Riso Drum |
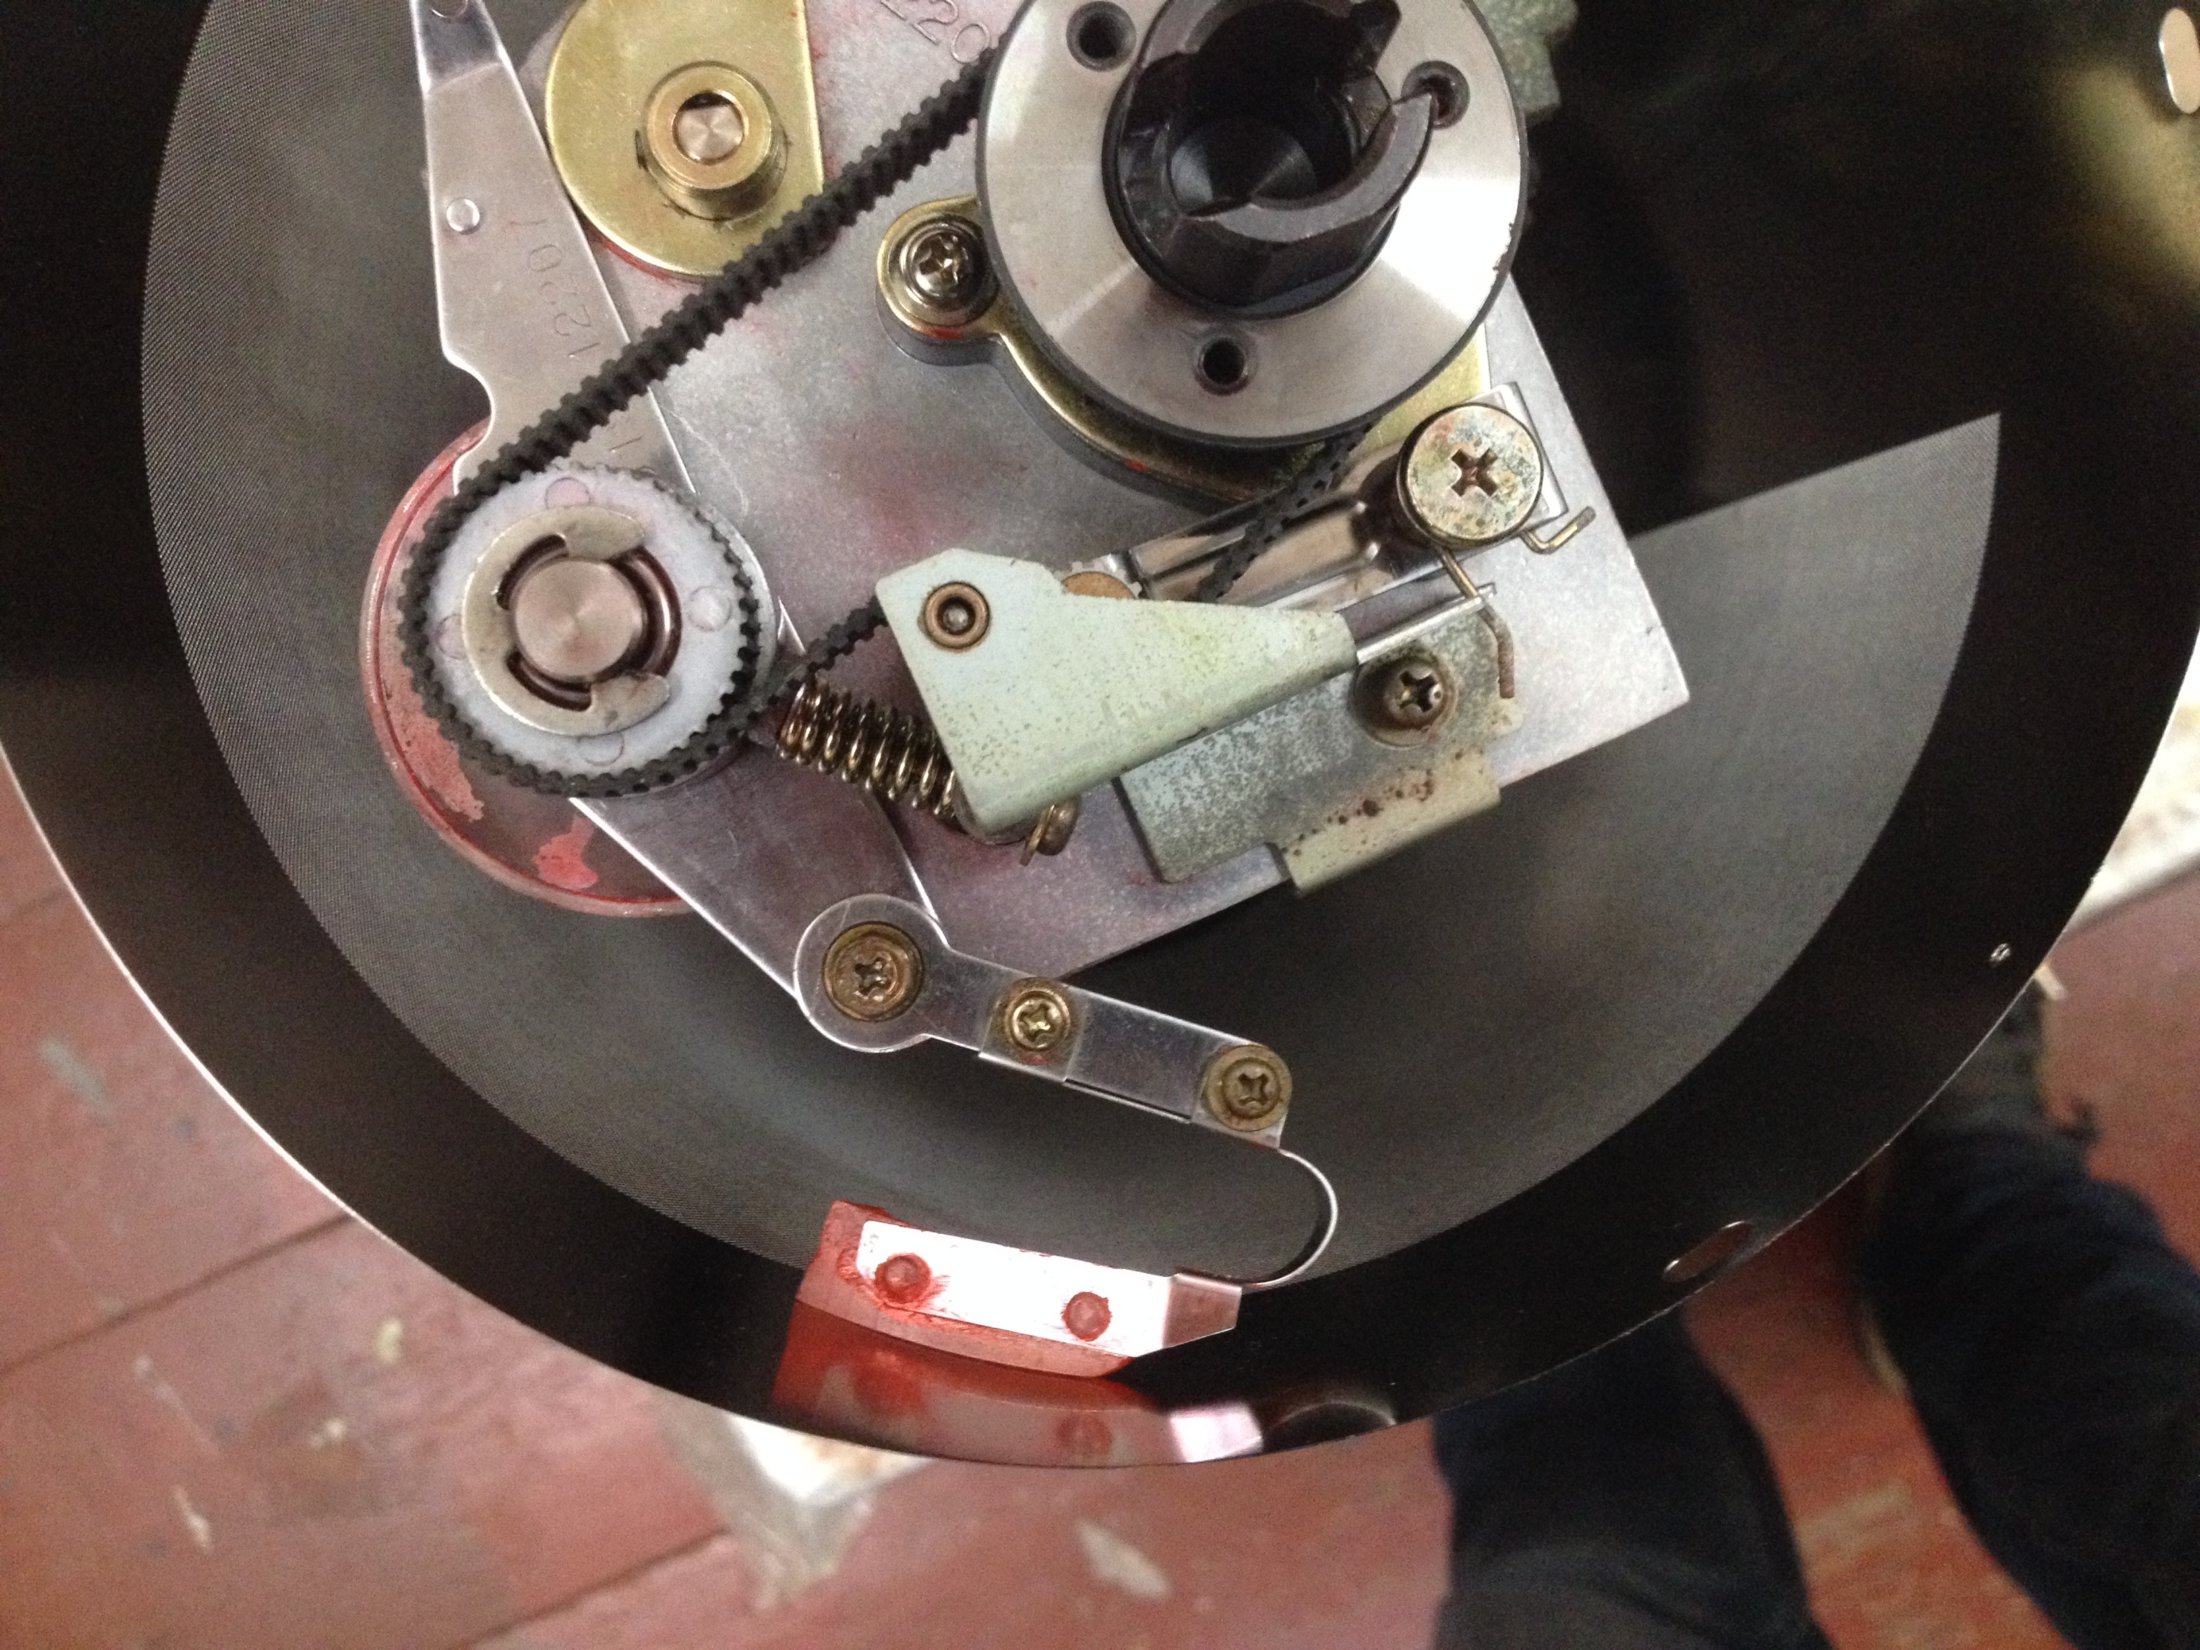


You need to take out the inking unit, in order to access the inner part
| Album | Flo Pink Drum |
| Category | Riso Drum |


So the cleaning of the inner parts is finished. Now everything has to be re-assembled again
| Album | Flo Pink Drum |
| Category | Riso Drum |

Comments are closed.