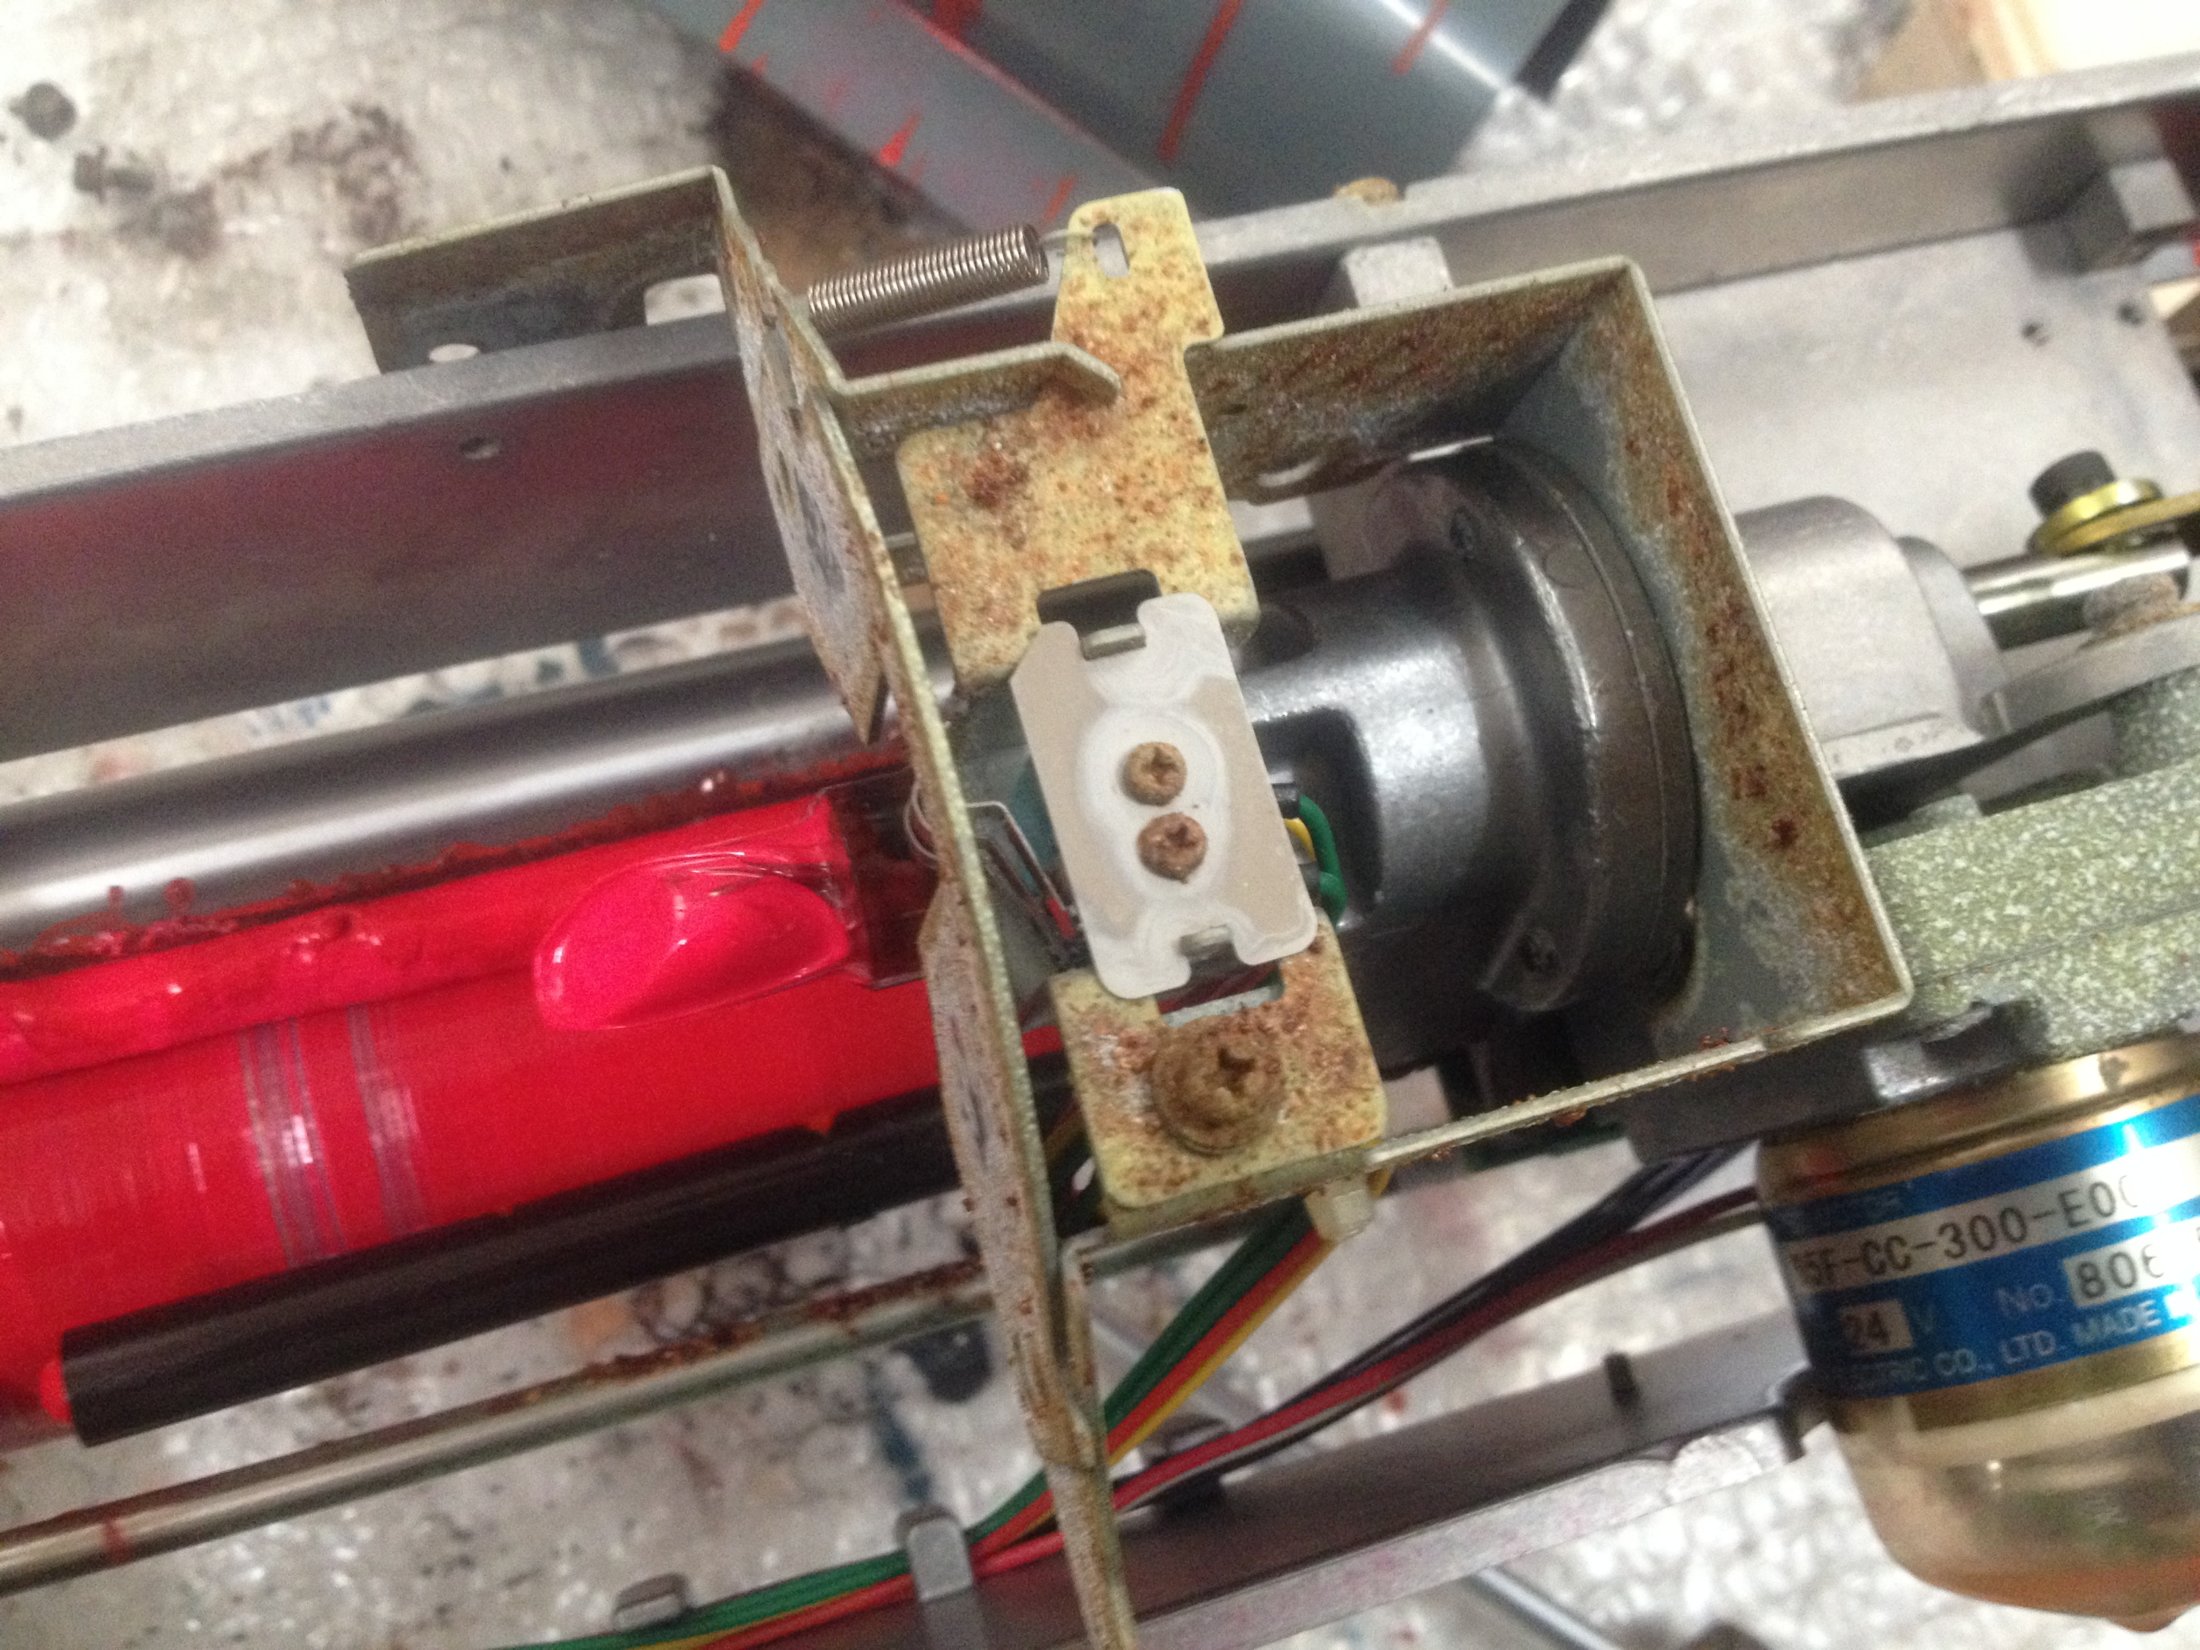
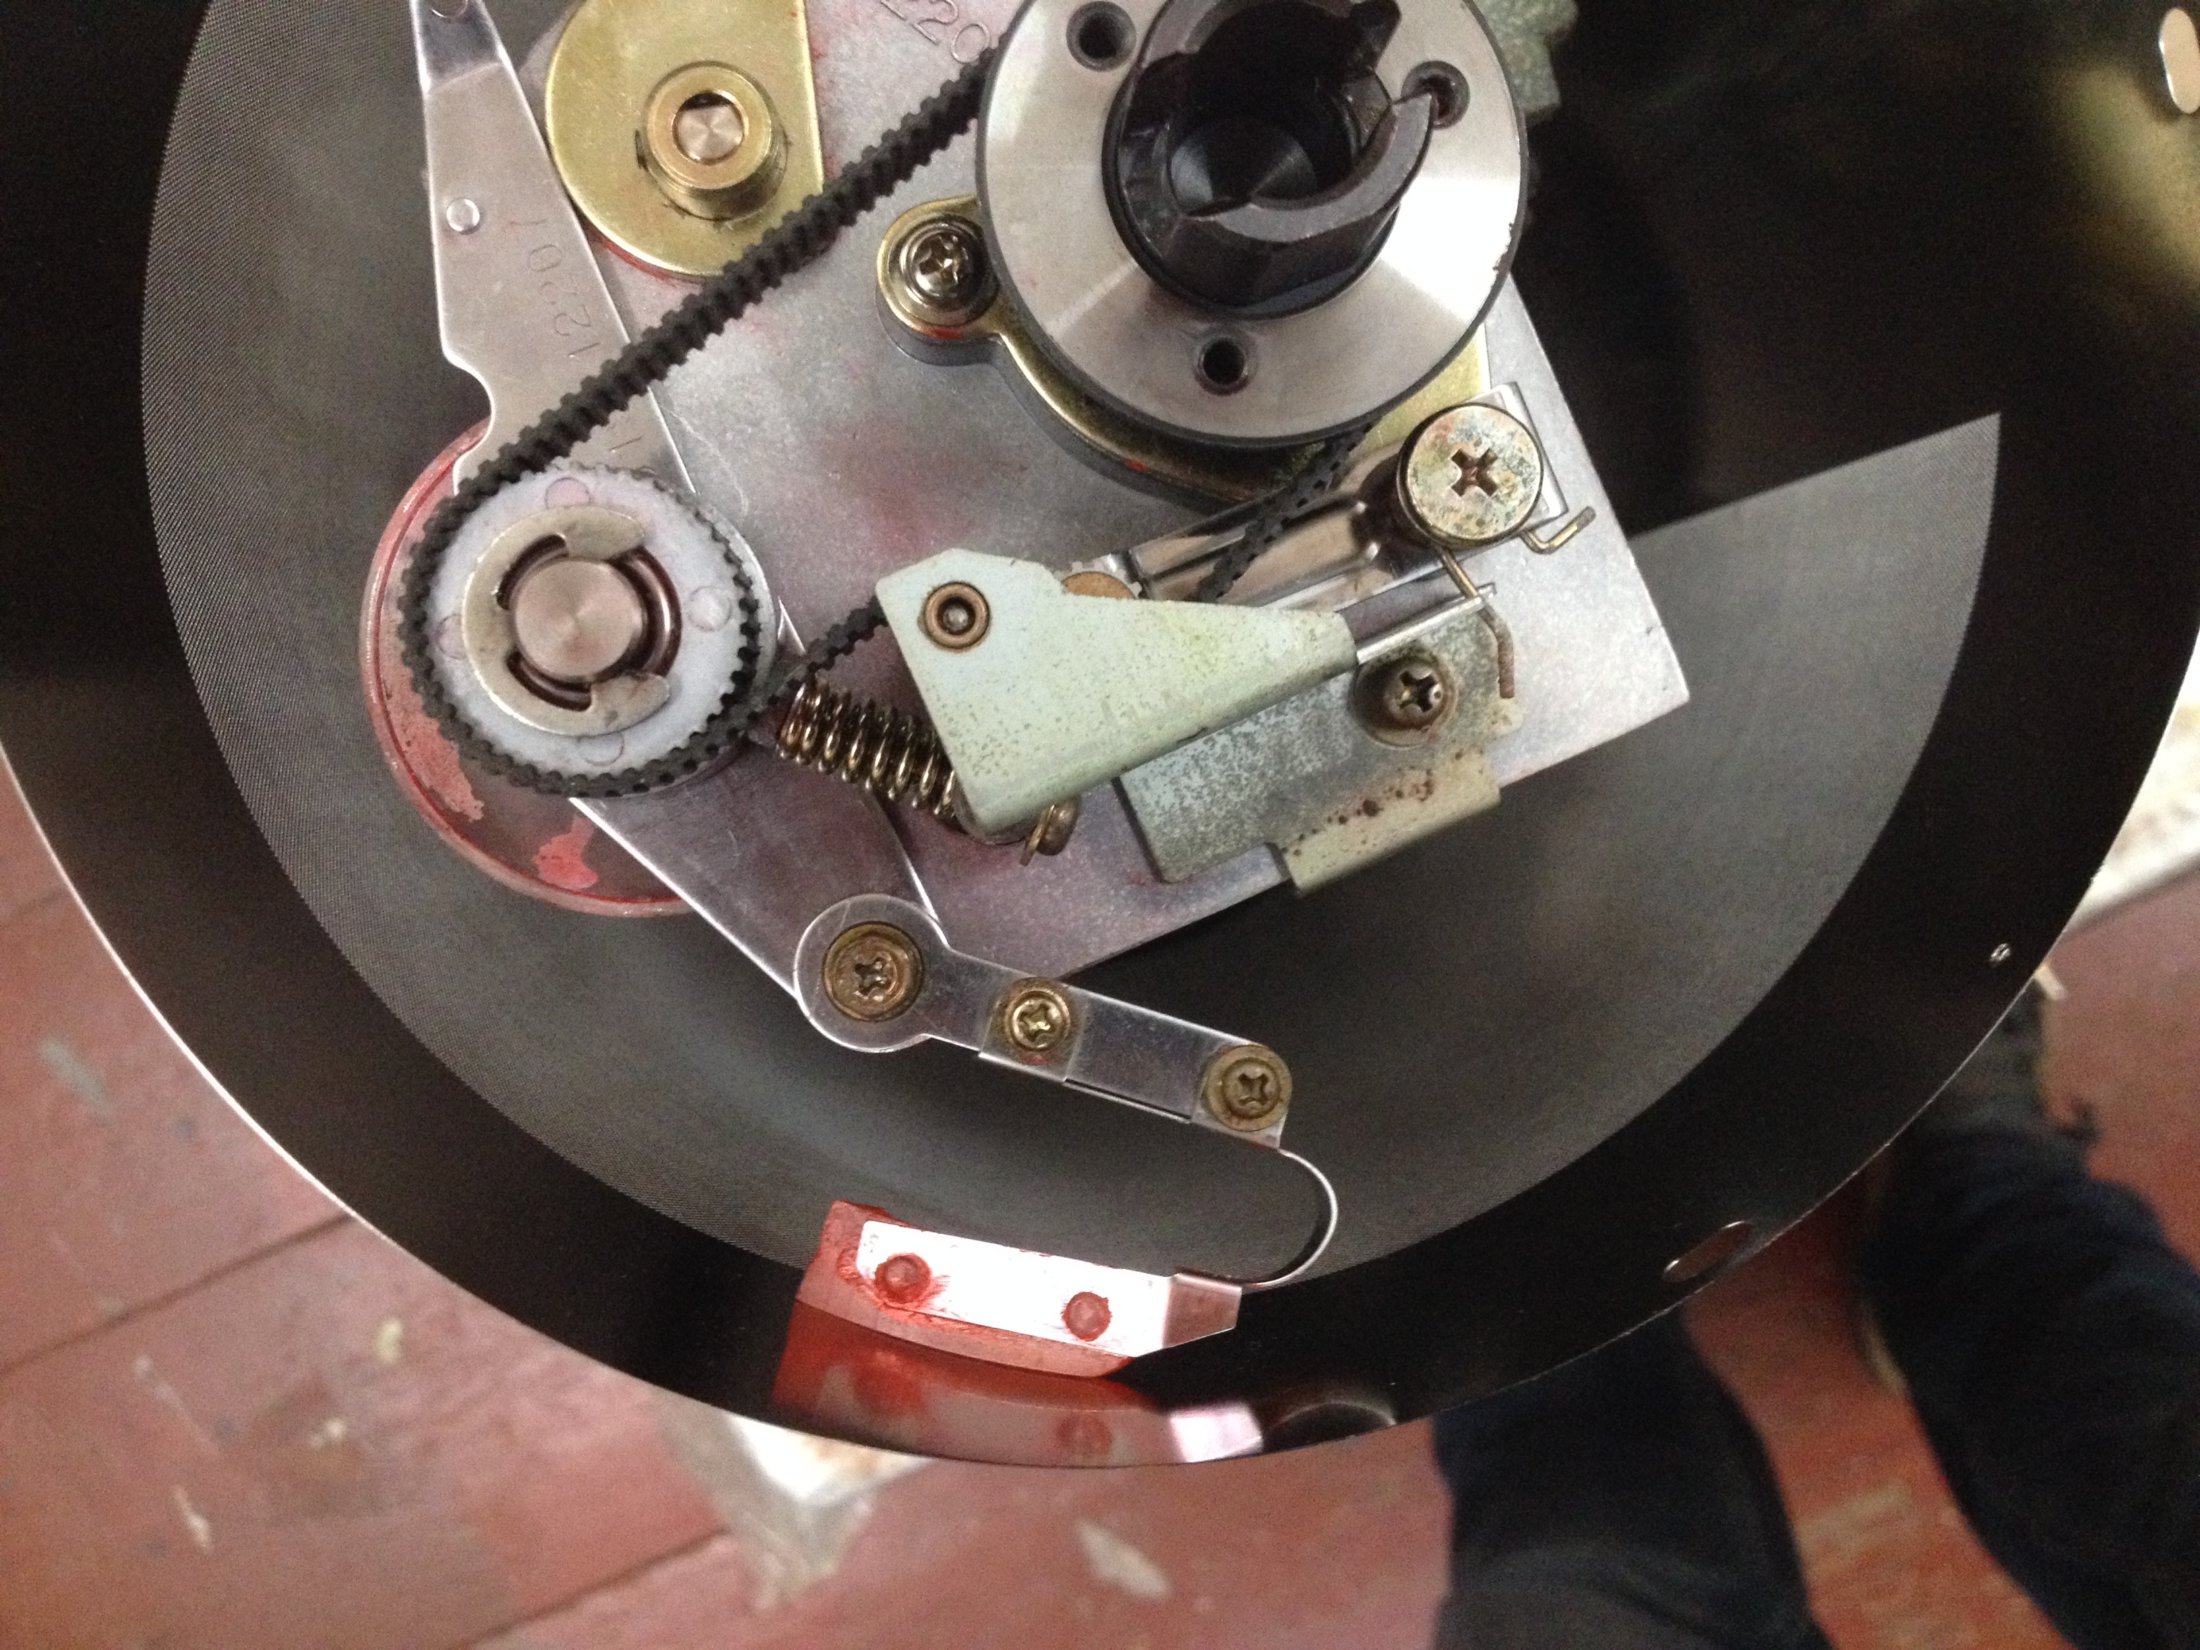
First steps are to take off the drum covers, the screen and drum body.
Here you can see the crust, that built up over time, eventually preventing the ink spreading evenly over the squeegee roller
Here you can see also the ink detection (L) and ink overflow (S) sensor on the drum PCB.
This is the ink pumping unit
You need to take out the inking unit, in order to access the inner part
So the cleaning of the inner parts is finished. Now everything has to be re-assembled again
Eventually, you need to adjust the ink blocking plates again
Here it is with a fresh new drum body
...putting back the drum covers
Finally, the whole process is finished and the drum re-assembled entirely.
And yes, it is a lot of mess as well :)
Comments are closed.
This website uses cookies to improve your experience. We'll assume you're ok with this, but you can opt-out if you wish.AcceptRejectRead More
Privacy & Cookies Policy
Privacy Overview
This website uses cookies to improve your experience while you navigate through the website. Out of these, the cookies that are categorized as necessary are stored on your browser as they are essential for the working of basic functionalities of the website. We also use third-party cookies that help us analyze and understand how you use this website. These cookies will be stored in your browser only with your consent. You also have the option to opt-out of these cookies. But opting out of some of these cookies may affect your browsing experience.
Necessary cookies are absolutely essential for the website to function properly. This category only includes cookies that ensures basic functionalities and security features of the website. These cookies do not store any personal information.
Any cookies that may not be particularly necessary for the website to function and is used specifically to collect user personal data via analytics, ads, other embedded contents are termed as non-necessary cookies. It is mandatory to procure user consent prior to running these cookies on your website.